Welcome to Persistent.ID
  • Intentwave
    • 🖥️Dashboard Registration
    • ⚙️Install the Pixel
      • How to install using Wix
      • How to install using Shopify
      • How to install using Wordpress
      • How to install using Webflow
      • How to install on Google Tag Manager
      • How to install on Go High Level
      • How to install on ClickFunnel
    • 🔗Platform Integration
      • Klaviyo Integration
      • Convesio Convert Integration
      • Webhooks
      • Webhook Into Zapier
      • ClickFunnels
    • 🔏Consent Management
      • Compliance Set Up
      • IntentWave Privacy and Compliance
    • 🤔Product FAQ
      • How to download the performance report and visitor CSV?
      • How to customize the view?
      • How to manage multiple websites?
      • How to track sources and destinations using UTM Parameters?
      • How to grant website permissions?
      • How to purchase and allocate leads?
      • How to adjust the lead reselling price?
      • What is a suppression list?
      • What if I forgot my Termly password?
    • 🛠️Troubleshooting
Powered by GitBook
On this page
  • Getting Started With Your Covesio Convert Integration
  • Step 1
  • Step 2
  • Step 3
  • Step 4
  • Step 5
  1. Intentwave
  2. Platform Integration

Convesio Convert Integration

PreviousKlaviyo IntegrationNextWebhooks

Last updated 4 months ago

Getting Started With Your Covesio Convert Integration

Follow these simple steps to get Intentwave integrated into your Convesio Convert account.If you don't yet have a Convesio Convert account sign for a

The estimated set-up time is: 2 mins

Step 1

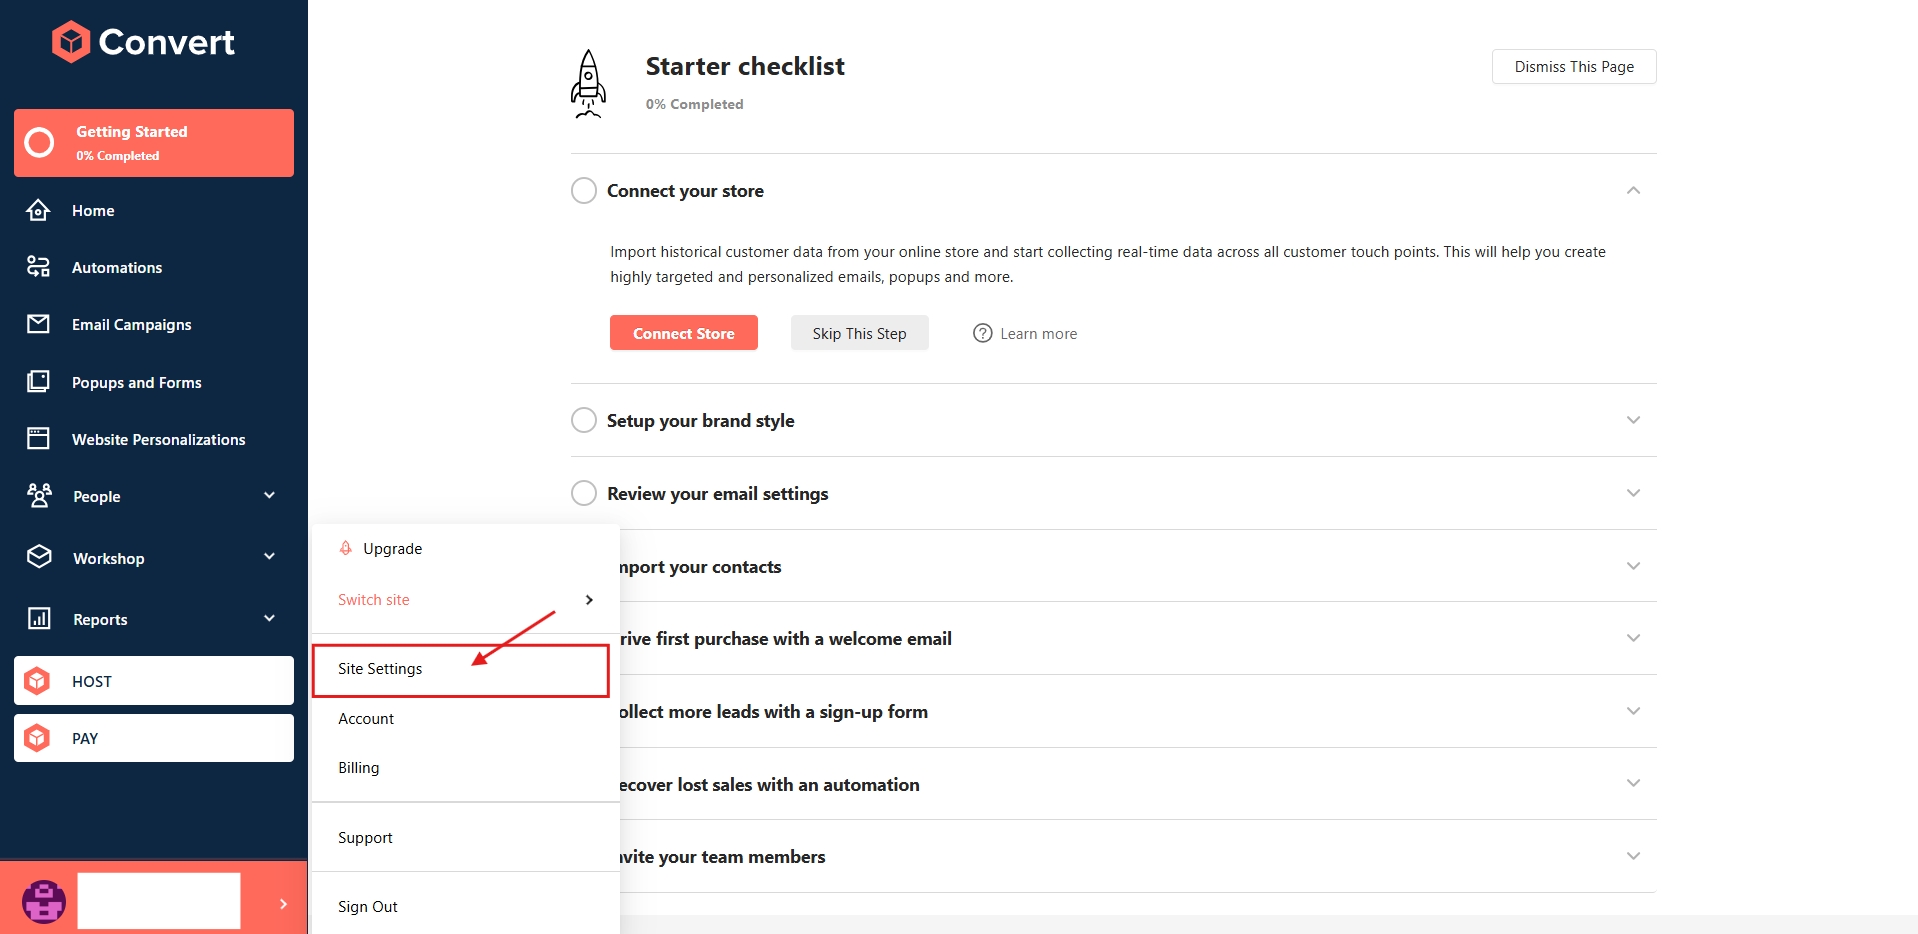
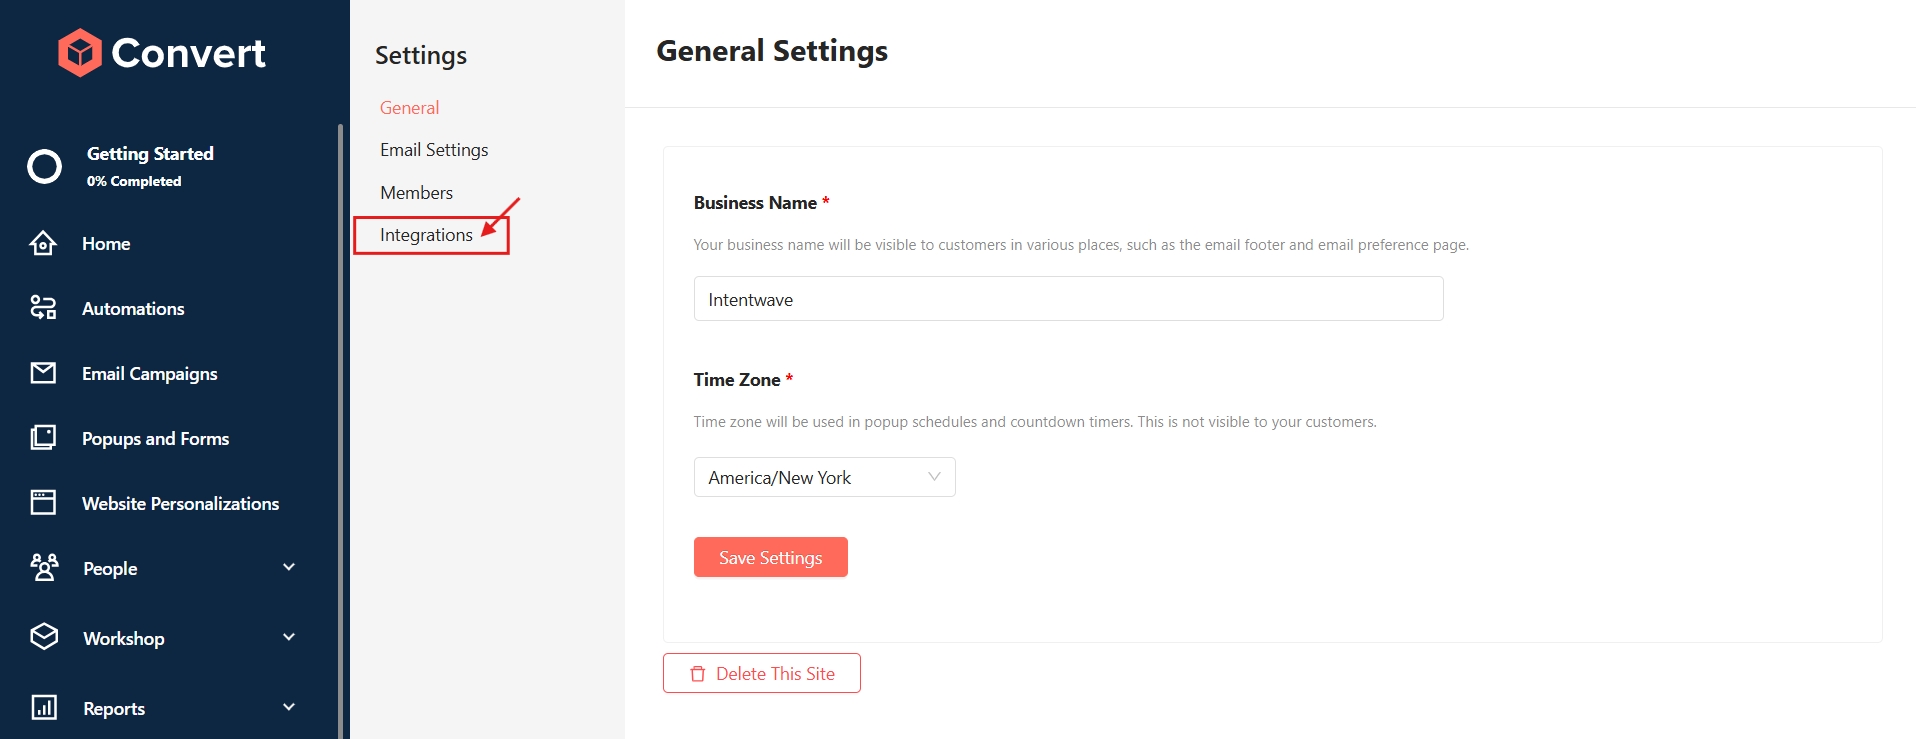
Connect your account: Navigate to Settings in the bottom left corner > select Integrations > select the tile

Step 2

Create an API Key: Select Authentication > Select Add New API Key > name your API Key > Save Changes

Step 3

Copy API Info: Select Show Details >copy your API key - API Secret - Site ID >

Step 4

Paste into Intentwave: Navigate back to your Intentwave dashboard > select Integration > select the Convesio Tile > toggle the Convesio Integration to on > paste each API detail into the corresponding section in Intentwave > Save Changes

Step 5

Test Integration: Select the Test Integration button to make sure you set up your integration correctly.

Congratulations on setting up your Klaviyo Integration and getting one step closer to turning Consnet into Commerce with Intentwave!

If you need support contact us at support@persistent.id

🔗
free trial here!